How to Test The Capacity of LiFePO4 Battery?
 Nov 08,2022

 Basen
Basen
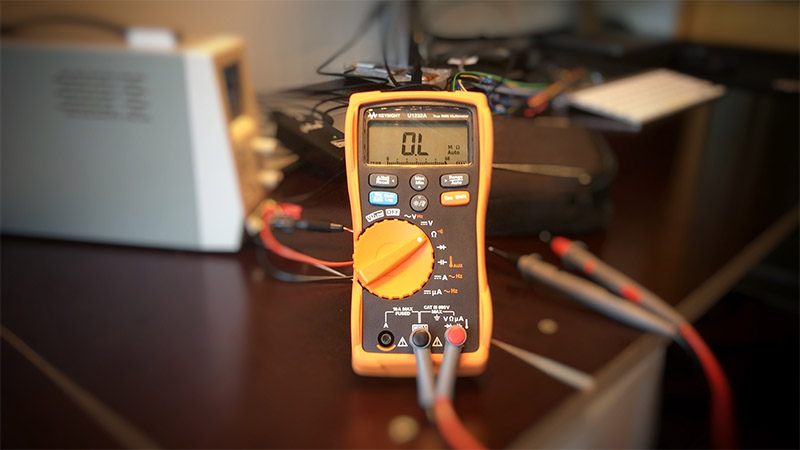
Testing LiFePO4 Battery with A Capacity Tester
EBC-A40L capacity tester is a high-current battery charge and discharge capacity tester for 5V battery and performance testing, through the online software with more extensions.
The tester is designed to charge and discharge batteries within 5V at a large current,the maximum current it supports is 40A in charging and 40A in discharging.
The tester can connect with a computer through a designated USB-TTL cable.
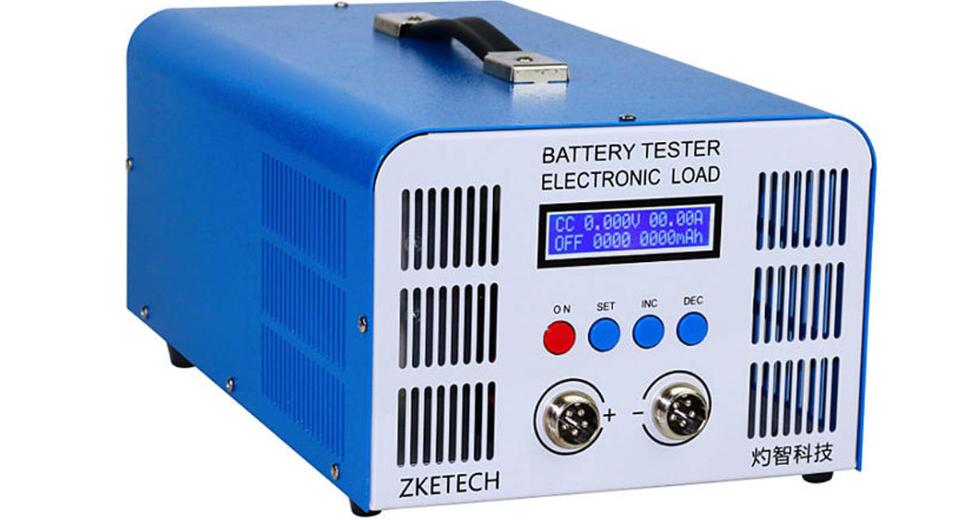
EBC-B20H is a battery capacity tester for 12V-72V range of battery capacity test, built-in discharge load resistance, support external battery pack charger, automatic switching charge and discharge, support the computer drawing the curve online .
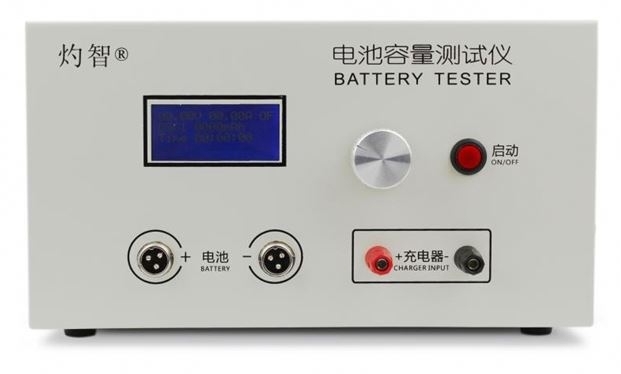
Testing LiFePO4 Battery with A Multimeter
A multimeter is an instrument for measuring and testing a battery’s voltage, capacity, resistance, etc. There are two types of multimeters- analog and digital, and we recommend using a digital one. It shows the result on its display.
In our opinion, you should test the LiFePO4 battery capacity at a 0.2C discharge rate, which is 20% of the total capacity of your LiFePO4 battery. If your LiFePO4 battery is 100 Ah, you have to discharge it at 20 Amps per hour.
Since LiFePO4 batteries are more robust than other batteries, you can discharge them at a higher C rate without any change during capacity testing.
Before we see the procedure of testing LiFePO4 battery capacity, let’s see what components we’ll need for the test.
- A LiFePO4 Battery
- A Digital Multimeter
- A Compatible Resistor
- A Stopwatch
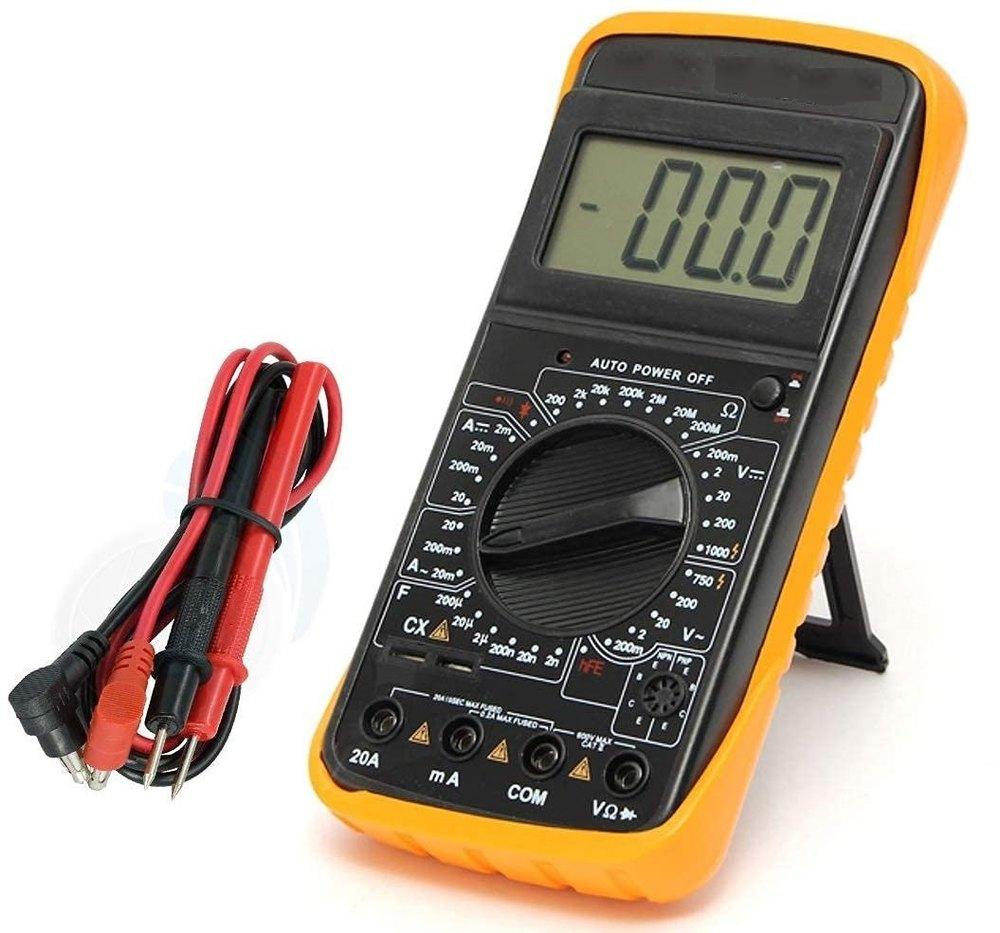
Step 1: Charge Your Battery
The first step is charging your LiFePO4 battery. Make sure to charge your battery up to 100% state of charge.
|
Capacity |
Voltage |
|
100% (charging) |
14.6V |
|
100%(resting) |
13.6V |
|
99% |
13.4V |
|
90% |
13.4V |
|
70% |
13.2V |
|
30% |
13.0V |
|
40% |
13.1V |
|
20% |
12.9V |
|
17% |
12.8V |
|
14% |
12.5V |
|
9% |
12.0V |
|
Cutoff Point |
10.0V |
The above table shows the voltage rating at various capacities for a 12V battery.
For testing your battery capacity with a multimeter, the LiFePO4 battery must reach its rated voltage. After charging your battery, remove the charger and let the battery rest.
Step 2: Check Your Multimeter
Now, it’s time to check your multimeter. You have to see whether the battery of the multimeter is working correctly. Set your multimeter’s knob to the Battery Check position to check the battery level.
You have to replace the internal battery if it’s already depleted. We would recommend you use new sets of batteries while testing your LiFePO4 battery capacity. It will help your multimeter work smoothly.
Step 3: Connect Multimeter to Your Battery
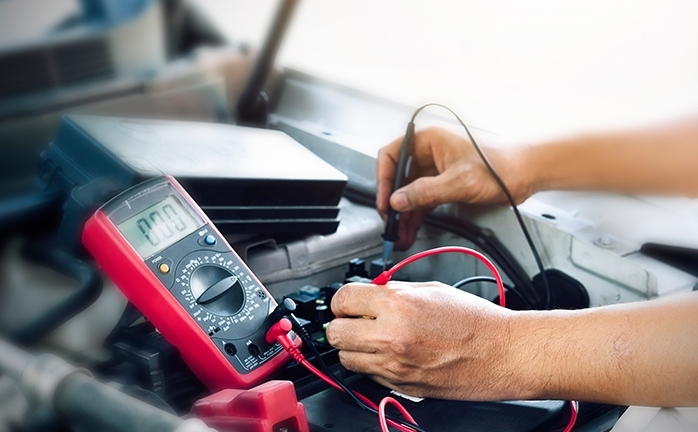
At this point, you have to connect the multimeter to your battery. You have to attach the multimeter probes to the negative and positive terminals of your LiFePO4 battery.
You will see a red color probe and a black color probe. Connect the red color probe to the positive terminal of your battery.
Similarly, connect the black color probe to the negative terminal of your battery.
In some cases, you might have to use an alligator clip. In that case, slip the alligator clip on the tip of your multimeter probes. But make sure that everything is well connected.
This way, you can get a direct voltage reading. But the best way to read it is under load. Let’s go to the next step to do that.
Step 4: Connect A Resistor
You might have to use a resistor with your battery while testing its capacity. So, select the correct resistor compatible with your battery voltage and discharge rate. For example, for a 12V LiFePO4 battery, you will need a 20 mAh drain current resistor.
Connect your battery’s positive terminal to one of the resistor’s leads. Connect the red multimeter probe to the unconnected resistor lead.
And then, connect the black probe to your battery’s negative terminal. You will get a positive current reading from the meter.
Step 5: Check the Multimeter Monitor For Reading
Now that your multimeter probes are connected properly, you have to check your meter’s display to see the readings. You can see your battery’s voltage reading from the voltage indicator.
If your battery is charged fully, you will see a slightly higher voltage than its rated voltage. If I take a 12V Lifep4 battery as an example, you will see 14.6V in the voltage indicator. In that case, your battery capacity is perfectly fine.
However, if you find the voltage is similar to your battery’s rated voltage or even lower, it means your LiFePO4 battery’s capacity has shrunk.
Step 6: Analyzing Reading
If your multimeter shows a higher voltage rating than your LiFePO4 battery’s rated voltage, then you have nothing to worry about. Your battery capacity is just fine.
But if you see a similar or lower voltage reading than the battery’s rated voltage, it means your battery capacity has reduced, and you might have to change your battery.
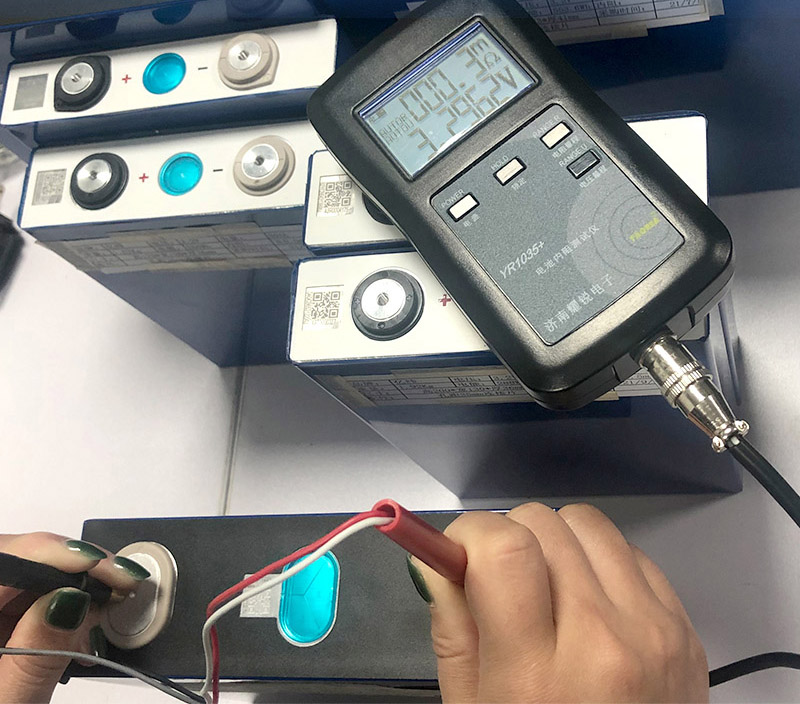
However, if the multimeter shows a higher battery voltage but dies while charging or discharging, you might have to diagnose it further. Take your LiFePO4 battery to a repair shop or contact the manufacturer.
This is how you check your LiFePO4 battery capacity using a multimeter. It will help you determine your battery’s capacity and whether you have to replace it with a new one.
Testing LiFePO4 Battery Without a Multimeter
You can check your battery capacity without any multimeter or tester. This is called real-life testing, and you won’t require any multimeter, voltage meter, or tester for that.
The most useful advantage of real-life testing is that it does not require any upfront cost. You can perform the test with any known load source. Besides, it is reliable, provided the load will give an accurate amp rating.
So, you have to know the amps of the load you are using. However, it is not a very technical test, and you have to closely monitor when the battery stops outputting power for an accurate calculation.
Here is a step-by-step process of testing LiFePO4 battery capacity without a multimeter.
Step 1: Charging the Battery
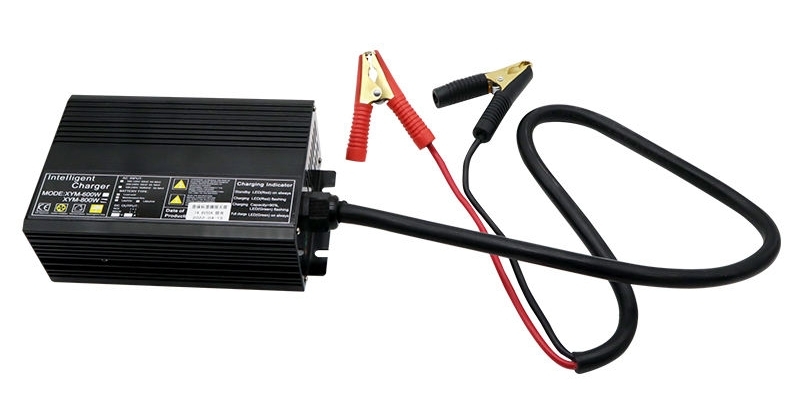
Charge your LiFePO4 battery up to 100% before you begin the test. It’s because the battery has to have a higher voltage than its rated voltage. Generally, a 12V LiFePO4 battery becomes 14.6V after a full charge.
Step 2: Note Down the Time
Since we are testing the battery capacity without a tester, you have to track everything manually. After charging your battery, note down the time. You will need this time while calculating later.
Step 3: Put on The Load
Now it’s time to put the load on your battery. You can use any type of load as long as you know the rated amps.
Step 4: Wait Until the Battery Is Expended
You have to wait until the load uses up the battery. When it does- the battery will be completely expanded.
Step 5: Note the End Time
At this point, you have to note down the end time when your battery has become expended. You will have to calculate the total time from the beginning and end times.
Step 6: Calculating Amp Hour
Finally, you have to calculate the amps hour of your battery from the data you have in your hand.
The formula is Amps X Time = Amps Hour.
So, if you were pulling 25 amps for 4 hours, the load consumed 100 Ah before the battery had discharged. Compare that with your battery’s rate. Ah, and you’ll know about your battery capacity.
Any other questions about capacity testing of LiFePO4 battery, please get in touch with our battery expert for detailed information.


 HOME
HOME What is the Difference Between LiFePO4 and Lithium-Ion Batteries?


 You May Also Like

 Tel
Tel
 Email
Email
 Address